
Please note: this site earns commissions from some of the retail links in our articles.
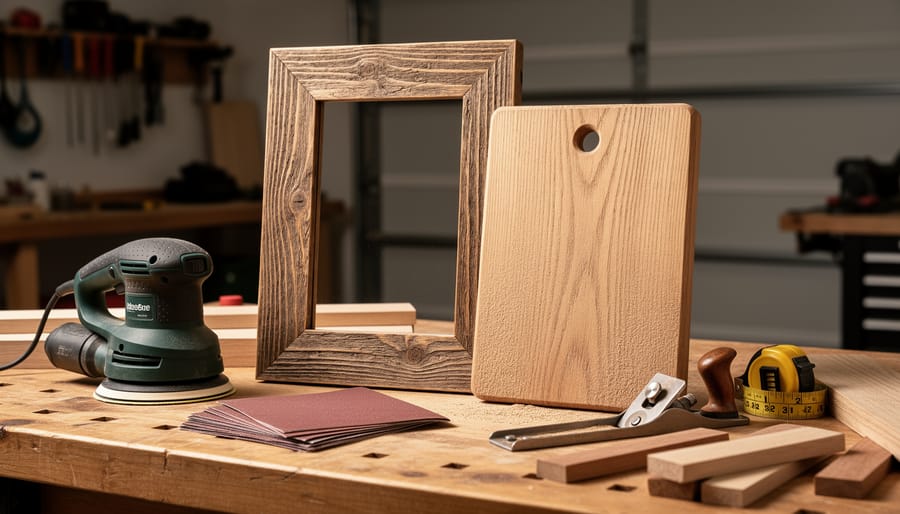
Small DIY woodworking projects transform beginners into confident craftspeople in a single weekend, using basic tools you probably already own and materials that cost less than dinner out. Whether you’re building a simple cutting board, a rustic picture frame, or a handy phone stand, these projects deliver real, functional items without requiring a full workshop or years of experience.
The beauty of starting small isn’t just about managing your budget or workspace limitations. Each compact project teaches you fundamental techniques that become building blocks for more ambitious work. That first perfectly sanded edge, the satisfying fit of a simple joint, or the smooth application of finish creates a confidence that no amount of reading can match.
Right now, woodworking communities across the country are welcoming newcomers who started exactly where you are. They’ve discovered that the path from curious beginner to skilled maker doesn’t require expensive equipment or natural talent. It requires good instruction, manageable projects, and the willingness to learn from each cut and measurement.
This guide walks you through five carefully chosen projects arranged by difficulty, complete with tool lists, material requirements, detailed steps, and safety protocols. You’ll learn what success looks like at each stage and exactly how to verify your work before moving forward. By the time you finish your first project, you’ll understand why so many people find woodworking both meditative and thrilling. The sawdust on your clothes becomes a badge of honor, proof that you’re building something real.
What You’ll Need to Get Started
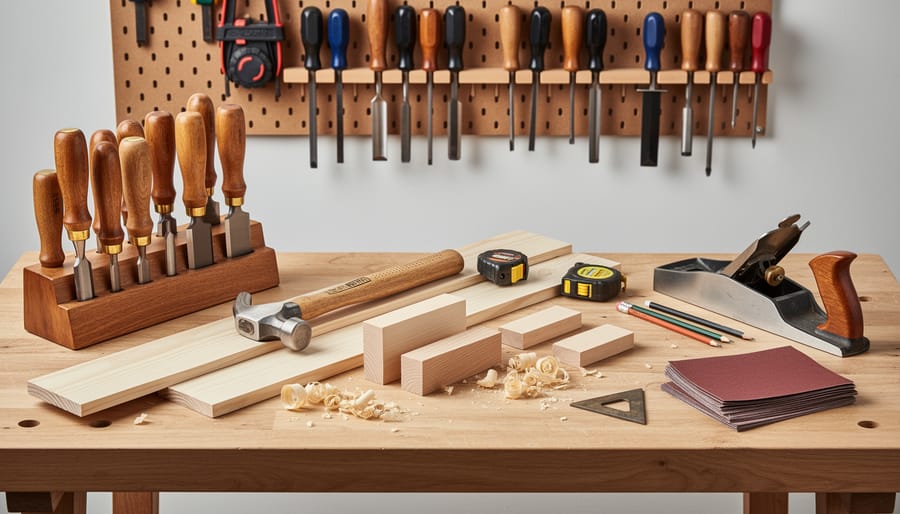
You don’t need a full workshop to start building. Most small woodworking projects require just a handful of tools you might already own, plus a few inexpensive materials from any hardware store. Starting simple keeps costs low and helps you build confidence before investing in specialized equipment.
The Essential Hand Tools
These five tools form the foundation of nearly every beginner project:
- A handsaw or small crosscut saw for cutting boards to length, look for one with 10-12 teeth per inch for smoother cuts in softwood
- A claw hammer (16 oz is versatile) for driving nails and light assembly work
- A cordless drill/driver for making pilot holes and driving screws, a basic 12V model handles most small projects
- Sandpaper in three grits (80, 120, 220) for smoothing rough edges and preparing surfaces for finish
- A 25-foot tape measure and a combination square for accurate measuring and marking
You can find starter tool kits for under £50 that include these basics, or piece them together from second-hand shops if you’re watching your budget closely. The quality doesn’t need to be professional-grade when you’re learning.
Helpful Power Tools (But Not Required)
If you’re ready to speed up certain tasks, a few power tools make life easier. A random orbital sander saves significant time and produces smoother results than hand-sanding, especially on larger surfaces. A circular saw cuts straighter and faster than a handsaw once you’ve practiced safe handling. A jigsaw handles curves and detailed cuts that handsaws struggle with. None of these are mandatory for the projects ahead, but they’re worth considering as you grow toward woodworking success and take on more ambitious builds.
Materials You’ll Actually Use
Start with softwoods like pine or poplar, they’re affordable, widely available, and forgiving to work with. A few 1×4 or 1×6 boards in 6-foot lengths cover most small projects. Quarter-inch plywood works well for box backs and dividers. Wood glue creates bonds stronger than the wood itself when used properly. A box of 1¼-inch screws handles most assembly needs. For finishing, a simple Danish oil or polyurethane protects your work and brings out the wood’s natural beauty without requiring spray equipment or elaborate technique.
Safety First: Protecting Yourself While You Build
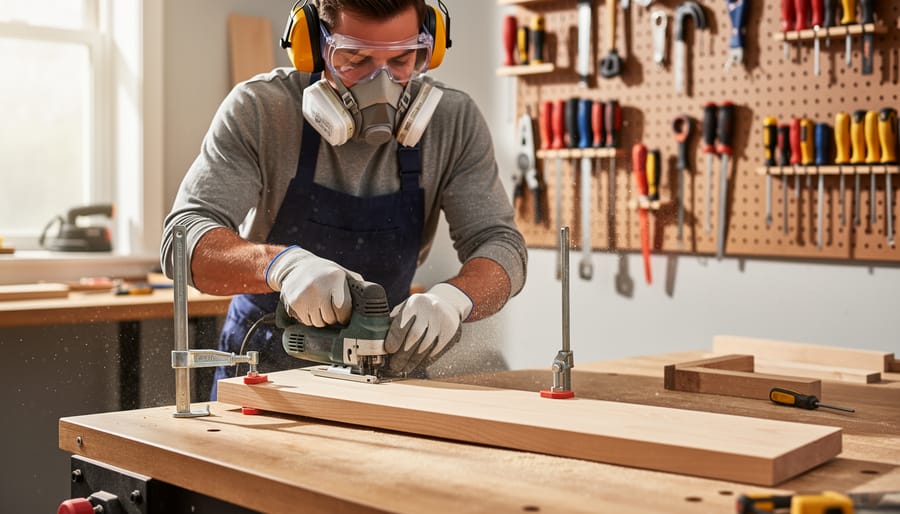
Building with confidence means understanding how to protect yourself at every step. Safety habits don’t slow you down, they free you to focus on the craft and enjoy the process without worry.
Start with the basics: wear safety glasses every time you pick up a tool, even for quick cuts. Wood chips and dust fly in unexpected directions, and your eyes are irreplaceable. If you’re using power tools for more than a few minutes, put on ear protection too. Foam earplugs or over-ear muffs cost less than ten dollars and prevent the gradual hearing damage that sneaks up on woodworkers over time.
Your hands do the real work, so position them thoughtfully. Keep fingers at least six inches away from any blade or bit, and never reach over a moving tool. When holding small pieces, use a clamp or push stick instead of risking your grip. If a cut feels awkward or your hand position seems off, stop and rethink the setup, there’s always a safer way to make the same cut.
Work in a space with good airflow. Open a window or door when sanding or applying finishes, because wood dust and fumes irritate lungs even if you don’t immediately notice. A simple box fan pointed outward helps move air through your workspace. For dusty operations like sanding, use personal protective equipment such as a dust mask rated N95 or higher to keep fine particles out of your respiratory system.
Sharp tools are safer tools. A dull blade forces you to push harder, increasing the chance of slipping. Spend five minutes maintaining your saw blades and drill bits regularly, they’ll cut cleaner and give you better control. Check that all guards are in place and working before you start, and never disable a safety feature to save a few seconds.
If something does go wrong, stay calm. Small cuts should be cleaned and bandaged immediately. For anything more serious, a deep gash, a piece of wood in your eye, or a smashed finger, stop work and get medical help right away. Keep a basic first aid kit within arm’s reach of your work area, stocked with bandages, gauze, antiseptic, and emergency contact numbers.
These practices become second nature after a few projects. You’ll find that working safely actually speeds you up because you’re not hesitating or second-guessing yourself. Every experienced woodworker in our community started by learning these same protective habits, and they’re the foundation that lets you build anything with confidence.
Five Small Projects to Build Your Skills
Project 1: Simple Wooden Shelf
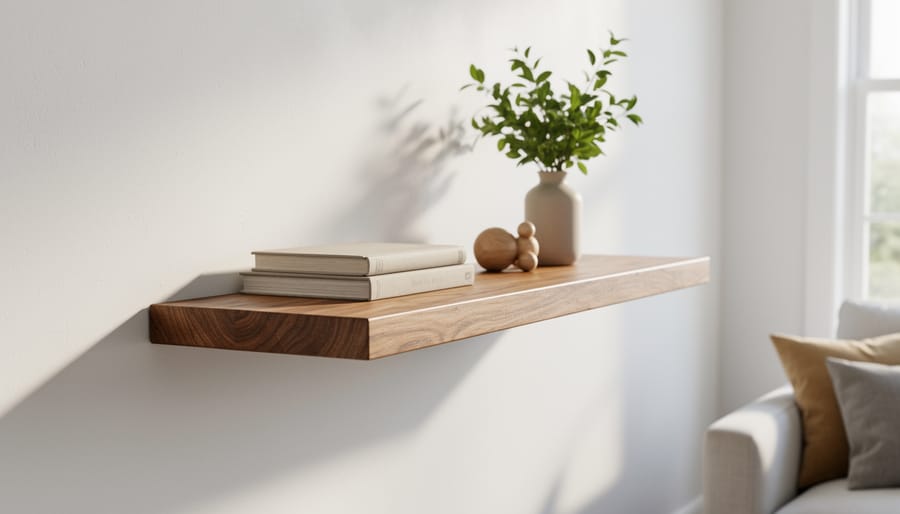
A floating shelf is the perfect first project because it teaches you measuring, cutting, and finishing without requiring complex joints or expensive materials. You’ll end up with something genuinely useful and attractive for your wall.
Start by deciding where you want your shelf and what you’ll place on it. Books and small plants work well. Measure the space and choose a length between 24 and 36 inches, longer shelves need thicker wood or additional brackets. For a beginner shelf, buy a 1×6 pine board (which actually measures 3/4 inch thick by 5 1/2 inches wide) and two simple L-brackets from the hardware store.
Here’s how to build it:
- Measure your chosen length on the board and mark it clearly with a pencil and carpenter’s square to ensure a straight line across the width.
- Cut the board to length using a hand saw or circular saw, staying just outside your pencil line, then sand down to the exact mark for a clean edge.
- Sand all surfaces and edges with 120-grit sandpaper, moving with the wood grain, then finish with 220-grit for smoothness. Wipe away all dust with a damp cloth.
- Apply your chosen finish, Danish oil, polyurethane, or even just paste wax, following the product directions. Two thin coats beat one thick coat every time.
- Once dry, mark bracket positions on the underside, pre-drill screw holes to prevent splitting, and attach brackets with wood screws.
- Hold the shelf against the wall at your desired height, level it carefully, and mark where the bracket holes meet the wall. Drill into studs if possible or use appropriate wall anchors.
- Secure the brackets to the wall, then slide your finished shelf onto them.
The beauty of this project is how it demystifies the entire woodworking process. You’ve measured twice, cut once, created smooth surfaces, protected the wood, and mounted something level. These same skills apply whether you’re building a shelf or a dining table.
Project 2: Desktop Organizer Box
Now that you’ve built a shelf and understand basic cutting and finishing, this desktop organizer box will teach you how multiple pieces come together to create a functional structure with compartments you can customize to hold pens, paper clips, sticky notes, or whatever clutter lives on your desk.
A simple organizer box measures about 8 inches wide, 6 inches deep, and 3 inches tall, perfect for desktop use and manageable to build. You’ll need pine boards or plywood for the sides, bottom, and dividers. This project introduces you to creating corner joints and working with smaller pieces, which builds precision.
Start by planning your compartment layout on paper. Do you want three equal sections or two large spaces with a narrow middle divider for pens? Sketch it out before cutting anything. This thinking ahead is what separates a random assembly from intentional craftsmanship.
- Cut your pieces: two side panels (6″ × 3″), two end panels (8″ × 3″), one bottom piece (8″ × 6″), and dividers to fit your planned layout (usually 6″ × 2.5″ to sit inside the box).
- Sand all edges smooth now, before assembly, it’s much harder to reach inside corners later.
- Apply wood glue to the edge of one side panel and position it against an end panel to form a corner, making sure they’re square. Secure with two or three small finishing nails.
- Attach the remaining sides the same way, working around the box until you have a four-sided frame.
- Glue and nail the bottom piece to the assembled frame, checking that everything sits flat on your work surface.
- Measure and mark where your dividers will go, then glue them in place, no nails needed here since they’re supported by the box structure.
- Let the glue cure for an hour, then apply your finish (stain, paint, or clear coat) and let it dry completely.
The corner joints you’ve just created are called butt joints, the simplest type where one piece butts directly against another. They’re not the strongest joint in woodworking, but combined with glue and nails, they’re perfectly adequate for a desktop organizer that won’t bear heavy weight. You’ve now learned to think in three dimensions, plan internal structures, and assemble multiple components into a cohesive whole.
Project 3: Plant Stand or Side Table
A plant stand or side table is your first project with multiple legs working together, which means you’ll learn to think structurally about how pieces support each other. This project teaches you that precision matters: when legs are even a quarter-inch different in length, your table wobbles. That attention to measurement and the understanding of how angles create stability will serve you in every future build.
Start by deciding on your dimensions. A simple 12×12-inch top with 16-inch legs makes a great plant stand, while an 18×18-inch top with 20-inch legs works better as a side table. Cut your top from a single piece of plywood or glue together narrower boards if you prefer the look of solid wood.
- Cut all four legs to exactly the same length using a stop block clamped to your work surface, which ensures each leg is identical without re-measuring.
- Mark the leg positions on the underside of your top piece, setting them in about two inches from each edge to create a stable footprint wider than the tabletop.
- Pre-drill pilot holes through the top at each leg position to prevent splitting when you drive screws.
- Apply wood glue to the top of each leg, position it at its marked spot, and drive two screws through the top into each leg at slight angles so they don’t exit the leg sides.
- Flip the stand upright and check that it sits flat on all four legs; if it rocks, identify the long leg and trim it slightly with your saw.
- Cut four support pieces to connect between the legs about four inches from the floor, creating a lower shelf or simple cross-bracing that dramatically increases stability.
- Attach these supports with glue and screws, checking that everything remains square as you work.
Sand all surfaces smooth, paying special attention to the top and any edges people will touch. Apply your chosen finish and let it cure completely before placing weight on the stand. This project teaches you that furniture isn’t just about making parts fit together, it’s about creating something that stands solidly and lasts.
Project 4: Wall-Mounted Coat Rack
A wall-mounted coat rack brings together everything you’ve learned so far while giving you space to make something uniquely yours. This project teaches you to think about both function and appearance, and you’ll end up with something you’re genuinely proud to display.
Start by choosing a board that catches your eye. Look for interesting grain patterns, natural color variation, or even a piece with a live edge if you’re feeling adventurous. A board around 24 to 36 inches long and 6 to 8 inches wide works well for most entryways. Sand it thoroughly, paying extra attention to the edges where hands will reach for coats.
The key to a professional-looking coat rack is precise spacing and proper installation. Here’s how to build it:
- Mark hook positions along your board, spacing them 4 to 6 inches apart so coats won’t crowd each other. Use a pencil and measuring tape to ensure even spacing from end to end.
- Pre-drill pilot holes at each mark using a drill bit slightly smaller than your hook screws. This prevents the wood from splitting when you install the hooks and makes threading them much easier.
- Screw in your hooks by hand, keeping them aligned in the same direction so they all face forward uniformly.
- Locate wall studs using a stud finder and mark their positions on the wall where you want your rack to hang. Mounting to studs ensures your rack can handle the weight of heavy winter coats.
- Attach mounting hardware to the back of your board, then secure it to the wall studs with appropriate screws.
This is where your creativity takes over. Consider adding a stained finish for warmth, painting it to match your décor, or leaving it natural with just a protective coat of polyurethane. Some woodworkers add a small shelf above the hooks for keys and sunglasses, while others route decorative edges or burn designs into the wood. The functional foundation is there, now make it reflect your personal style.
Project 5: Picture Frame with Mitered Corners
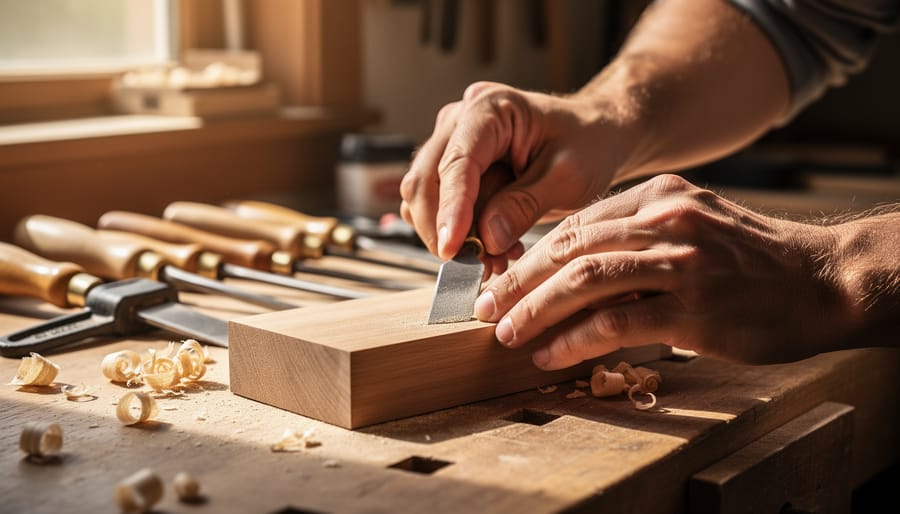
A custom picture frame teaches you precision cutting and finishing skills that will elevate every future project. This build requires careful measuring and accurate 45-degree cuts, but the polished result makes it worth the extra attention to detail.
Start by measuring the artwork or photo you want to frame. Add one-eighth inch to both the height and width to allow the piece to sit comfortably within the frame without buckling. Choose wood molding with a rabbet (the recessed step on the back edge that holds the glass and backing) or plan to rout one yourself. For your first frame, select molding that’s already rabbeted.
- Cut four pieces of molding, each with 45-degree miters at both ends. The long edge of each piece should match your calculated dimensions. Use a miter saw or miter box for accuracy, and cut all four pieces before moving to assembly so you can adjust if needed.
- Test-fit the corners dry before applying glue. The mitered edges should meet flush with no gaps. If you see daylight between joints, recut that piece rather than trying to force a bad miter closed.
- Apply wood glue to one mitered edge and press two pieces together to form a corner. Use a corner clamp or band clamp to hold the joint tight while it dries. Repeat for all four corners, working on two corners at once if you have enough clamps.
- Once the glue has fully cured (check the bottle for timing, usually one hour), reinforce each corner with small brads or a pin nailer driven through the edge. Pre-drill if working with hardwood to prevent splitting.
- Sand the entire frame with 220-grit sandpaper, paying special attention to the corners where slight misalignments might create ridges. Sand with the grain to avoid scratches.
- Apply your chosen finish: stain for richer color, clear polyurethane for protection, or paint for a modern look. Two thin coats beat one heavy coat every time.
- After the finish dries completely, install the glass, your artwork, and a backing board. Secure everything with glazier points or small tabs, then add hanging hardware to the back.
The miter joint is unforgiving but teaches you a fundamental truth of woodworking: measure twice, cut once actually means something. Every degree of error at the miter multiplies across four corners, so developing the patience and precision this project demands will serve you in countless future builds. When those corners meet perfectly flush, you’ll feel the satisfaction that comes from mastering a challenging technique.
How to Know Your Project Turned Out Right
When you step back from your finished project, run through this quick quality checklist to see how you did:
- Give the piece a gentle shake or press test, does it wobble or feel solid?
- Run your hand across all surfaces to catch any rough spots or splinters you missed
- Check that joints sit flush without gaps wider than a credit card edge
- Look at your finish under natural light for streaks, drips, or bare patches
- Test the actual function, does your shelf hold weight, does your organizer contain items, does your coat rack support a jacket?
If something feels off, that’s completely normal. Maybe one corner isn’t perfectly square, or your finish pooled slightly in one spot. These small imperfections don’t mean you failed; they show you exactly what to watch for next time. The master woodworkers whose work you admire online once built their first wobbly shelf too. They just kept building.
When you spot an issue, ask yourself if it affects function or just appearance. A slight gap in a decorative frame matters less than a plant stand that tips. For functional problems, reinforce with an extra screw, add a support brace, or sand and refinish the trouble area. For cosmetic issues, decide whether to fix them or let them be, these “character marks” often become your favorite part of early projects when you look back years later.
Take a photo of every finished piece. Not just the pretty angles, but the parts that didn’t go as planned. Document what you’d change. Many artisans who now teach others or pursue collab ideas with established brands started by building a portfolio of imperfect early work that showed their growth trajectory. Your fifth project will be noticeably better than your first, and that progression is something to celebrate.
What to Build Next and How to Keep Growing
You’ve proven you can build five complete projects, which means you’re ready for challenges that stretch your skills further. The leap from beginner to intermediate isn’t about fancy tools or complicated plans, it’s about building on what you already know and connecting with others who share your passion.
Consider these next-level projects that build on the techniques you’ve mastered:
- A small bookshelf with adjustable shelves that teaches you to work with dado joints
- A cutting board with contrasting wood strips that introduces edge-gluing and food-safe finishes
- A jewelry box with a hinged lid that challenges you to work with smaller, precise components
- A simple stool or bench that requires stronger joinery and weight-bearing considerations
- A serving tray with handles that combines multiple wood types and decorative elements
Document your progress as you grow. Take before-and-after photos of each project, jot down what worked and what you’d change, and keep a simple notebook of measurements and techniques you want to remember. Looking back at your first shelf six months from now will remind you how far you’ve traveled.
The woodworking community welcomes newcomers enthusiastically. Local maker spaces offer tool access and experienced mentors who remember their own early projects. Weekend workshops at hardware stores and community colleges provide hands-on instruction in specific techniques. Online, you’ll find artisan co-ops where members share resources, swap materials, and troubleshoot challenges together. Following artisan brands on social media exposes you to professional techniques while connecting you to a broader maker community that celebrates both masterpieces and learning mistakes.
As you advance, source materials sustainably. Salvage yards, estate sales, and furniture destined for landfills provide beautiful hardwoods at a fraction of retail cost. Many lumber suppliers sell short pieces and cutoffs perfect for small projects. This approach saves money while giving new life to wood that might otherwise be wasted.
Common Questions About Small Woodworking Projects
How much do materials cost for a small woodworking project?
Most beginner projects cost between $10 and $30 in materials. A simple shelf might need just one board and some screws, while a small table requires a bit more lumber and hardware. Shopping at local home improvement stores during sales or using scrap wood can cut costs even further.
Can I do woodworking projects in an apartment?
Absolutely. Many small projects work perfectly in apartment spaces if you take a few precautions. Work on a protected surface like a folding table, use hand tools to keep noise down during reasonable hours, and lay drop cloths to catch sawdust. A balcony or shared workshop space expands your options.
How long does each project typically take?
Simple projects like a shelf or organizer box take two to four hours spread across a weekend, including drying time for glue and finish. More detailed builds like a picture frame might need an extra evening. Your first attempt will take longer than subsequent projects as you learn the process.
What if I don’t have a full workshop?
You don’t need one. A corner of your garage, a spot in your basement, or even a kitchen table works fine for small projects. Store tools in a plastic bin or small cabinet, and set up only when you’re ready to build. Many successful woodworkers started exactly this way before expanding their space.
How do I fix mistakes without starting over?
Wood filler repairs small gaps and dings beautifully once sanded smooth. If a cut is slightly off, strategic sanding or trimming often brings pieces into alignment. Mistakes teach you more than perfect builds do, and each fix adds to your problem-solving skills that help you build careers in craftsmanship over time.
The questions above address the practical concerns that stop people from starting. Cost worries fade when you realize a weekend project costs less than dinner out. Space limitations matter less than your willingness to adapt your approach. Time investment stays manageable when you break builds into short sessions that fit your schedule. The community at Wood & Work has seen countless beginners transform these early questions into confident skills, proving that your constraints today become your creative advantages tomorrow.
How to Check Your Work
After you finish any small woodworking project, you’ll want to verify that it’s both safe and functional. Start with a stability test: place the item on a flat surface and apply gentle pressure from different angles. A well-built shelf shouldn’t wobble, and a table or stand should feel solid under moderate weight.
Run your hand across all surfaces to check for rough spots or splinters. If you find any, a quick pass with 120-grit sandpaper will smooth them out. Inspect every joint by trying to wiggle connected pieces, they should hold firm without gaps or movement.
For wall-mounted projects like shelves or coat racks, tug gently downward to confirm your anchors are secure. If anything shifts or creaks, you’ll need to reinforce the mounting before adding weight.
Check that drawers slide smoothly, doors swing freely, and any moving parts function as intended. Your finish should look even without drips or bare spots.
Most small projects don’t require professional help, but if you’re mounting heavy items to walls and aren’t confident about finding studs or choosing the right hardware, consulting a handyman ensures safety. Otherwise, trust your work, you’ve built something real.
You now have everything you need to build your first small woodworking project. The shelf, organizer, or plant stand you create this weekend won’t just be a functional piece for your home, it’ll be proof that you can shape raw materials into something useful and beautiful with your own hands.
Every master woodworker you admire started exactly where you are right now, holding their first piece of sandpaper and wondering if they could really do this. They built confidence one small project at a time, just like you’re about to do. The wobbles and imperfections in your early builds will become the stories you share later about how far you’ve come.
Your workspace is ready. Your first project is calling. All that’s left is to pick up that first board and make your first cut.
At Wood & Work, we’ve built a whole community of people just like you, beginners who became makers, learners who became artisans. Our virtual lessons walk you through each technique with patience and clarity, and our hands-on workshops give you the chance to learn alongside others who share your excitement. Whether you need guidance on your next project or just want to celebrate your latest finish, we’re here.
Grab your tools. Your woodworking journey starts today.