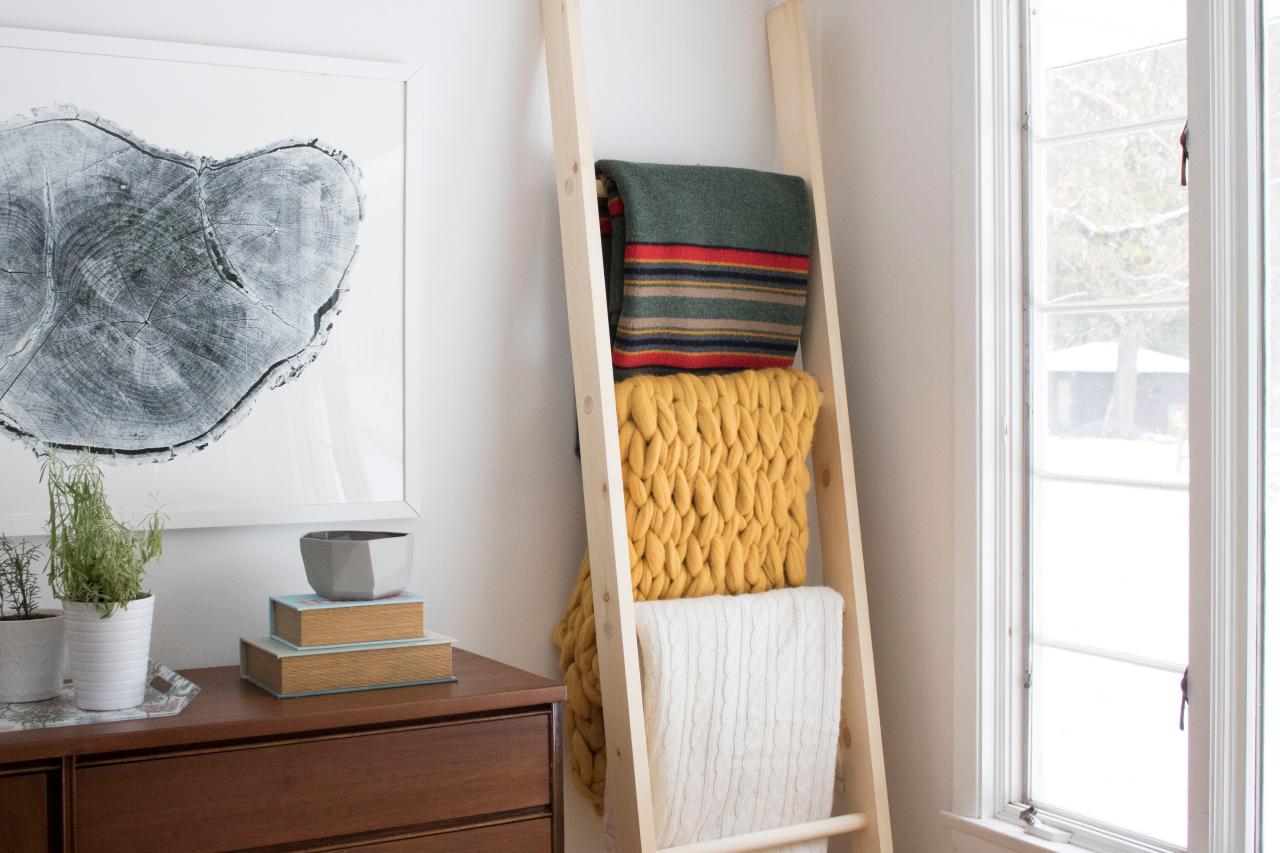
Nothing feels more satisfying than having made at least one do-it-yourself (DIY) household article and found it useful every day. In this beginner woodworking project, you will learn the following steps on crafting your blanket ladder.
Before you get started, the materials you need are two pieces of 2×3 lumber at 8 feet, a few 1 1/4″ (1.25-inch) round wood dowels at 6.5 feet, a 1 1/4″ spade drill bit, a masking tape or painter’s tape, wood glue, and wood stain that should complement the interiors. The tools that you must use are one measuring tape, a miter saw a speed square, a power drill, and a mallet hammer.
- Clip the base of every lumber piece at a slightly diagonal angle (10 degrees is fine) so that they will sit on the ground and lean properly. Every piece should measure 76 inches.
- Cut at least four pieces of 18.5-inch round wood dowels.
- Draw a total of eight drill hole marks or four marks per lumber using the speed square.
- On the side of each lumber, drill four holes. To make sure that the drill depth is appropriate, cut a piece of masking or painter’s tape and adhere it 0.75 inches from the bottom of the spade drill bit’s wide part.
- Apply wood glue to the inside of every hole and the base of one dowel. Affix the dowels to the ladder sides carefully. Reiterate this step for the rest of the holes and dowels.
- Hammer the sides of the ladder gently into the dowels using the mallet, or clamp them together to hold the pieces. Leave the wood glue dry for several hours.
- Apply wood finish to your newly made DIY blanket ladder.