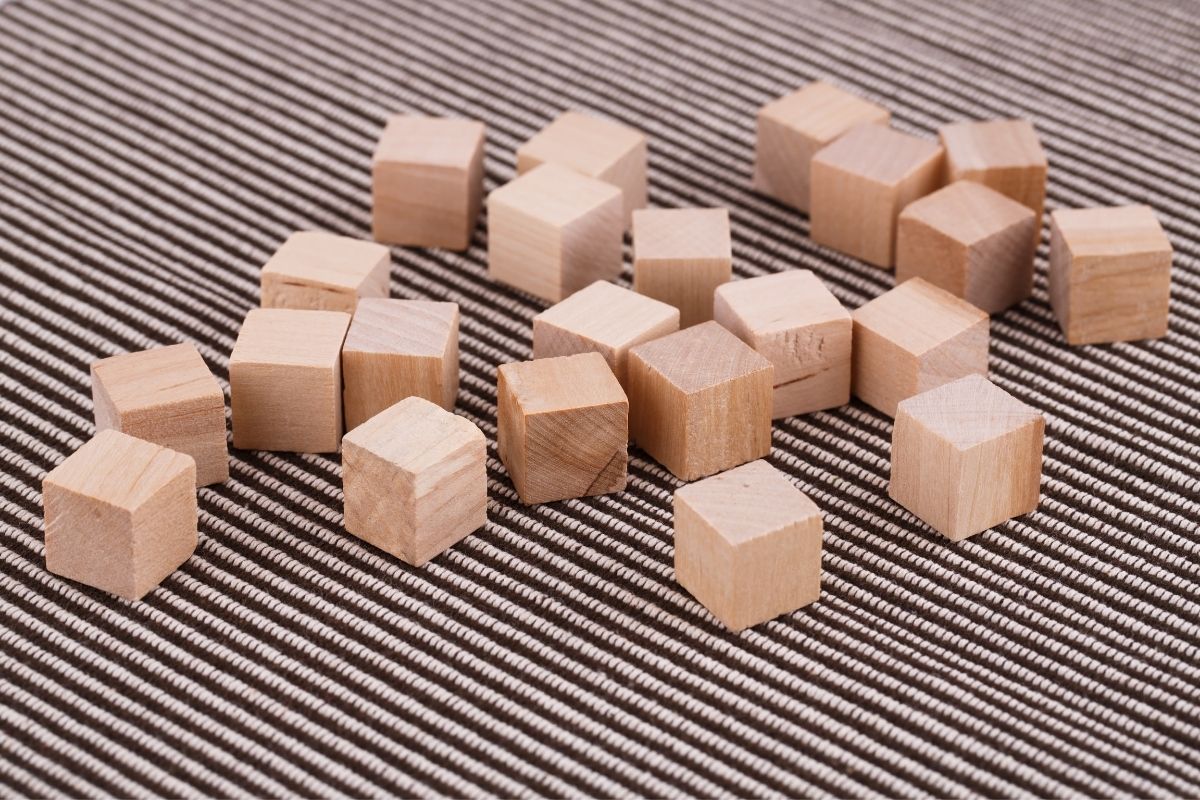
When you think of a fidget cube, the two basic production materials that come to mind are plastic and silicon. Wood may not be the best material for mass-producing fidget toys, but adding a wooden fidget cube to your collection of fidget cubes does not hurt. Unlike Fidget spinners, fidget cubes are less distracting and help your kid focus on what the teacher is explaining in class. However, fidget spinners are easier to make compared to fidget cubes. Discover how to make a wooden fidget cube by following the steps discussed in this guide.
Some materials needed to make a wooden fidget cube can be salvaged from spoilt sockets, electric motors, and unused furniture. The materials required include maple wood/plywood, screws, switches (toggle and tactile), small-sized ball bearing, cyanoacrylate glue, plywood, small steel, small washers, bolt, and nut. The tools needed include Sandpaper, hacksaw, handsaw, hot glue gun, knife, wire cutter, rotary tool, drill, wooden vise, and drill bill set.
Cut the Plywood into Squares
A square has four equal sides, meaning no side should be longer than another when you are cutting out the plywood. You can draw a square on the plywood bench material before cutting it into the appropriate sizes. Cut out the layers by thrusting a handsaw on the plywood material. You can use any length you desire, but a 4 cm by 4 cm measurement is okay, as a fidget toy should be small enough to hold conveniently.
A good rule of thumb is to ensure the six layers, when placed on each other, retain the same height as the height of a single layer. For instance, if you use 8mm thick plywood, the six square layers, when stacked together, would add up to 48mm in both directions. To get the correct width and height of the squares, multiply the thickness of a single material by the total number of layers (in this case, 5).
Assemble the Plywood Layers
Using a thin plywood sheet, you need to cut the plywood into five layers. Then, assemble them into a cube using glue. If you are lucky to have a wooden chair that’s no longer of use, you can cut the leg into 4cm by 4cm. That way, you don’t have to go through the stress of assembling thin layers of plywood. Ensure you sand the rough edges using sandpaper, metal files, and a coping saw. Doing so gives it a more professional look.
Decide What Part of the Cube You Want to Fill
The fidget cubes on Amazon have every side of the cube occupied with a flip switch, spinner, or tactile rollers. The parts that are not occupied are depressed to form the hollow “breathe” side. You can choose to fill everything or leave some features unoccupied. However, if you have the will, time, and tools, you can decide to make every side of the cube ‘busy.’
Attach the Push Button Switches
Push-button switches are pretty small and do not require much space. You can attach more than one push button switch on one side of the cube. Remove the bottom wires attached to the switches and ensure no remnant is left. Glue the push button switches to the preferred side of the cube.
Fix the Spinner
Cut an extra 4cm by 4cm thin layer of plywood to the size of a hand spinner. You can use plywood with different colors to give the whole fidget cube a contrasting look. Sand the spinner edges. Drill the pointy edges of the spinner and glue small steel into the holes. The steel provides additional weight that makes spinning fun. Screw the salvaged bearing into the center of the cube.
Drill a perfect hole (which fits with the small-sized ball bearing) in the middle of the spinner. The salvaged bearing is used to hold the spinner to the cube, giving it the freedom to rotate without going off. Before gluing, try fixing it in. Then, remove the spinner once it fits perfectly. Put some glue around the bearing and press-fit the spinner gently. Be quick, so the glue won’t cure before you can fit the spinner on the ball bearing perfectly.
Fix The Toggle Switch
Choose a toggle switch that does not make too much noise when clicked. Drill a hole that fits the size of the toggle switch. Use the rotary tool and knife to perfect the shape of the hole. Then, glue the switch. Do not let the glue spill on the toggle switch, as it can cause the switch to stiffen.
And if this is not enough, have a look at this video. This wooden fidget toy is packed with ideas and not hard to create:
