
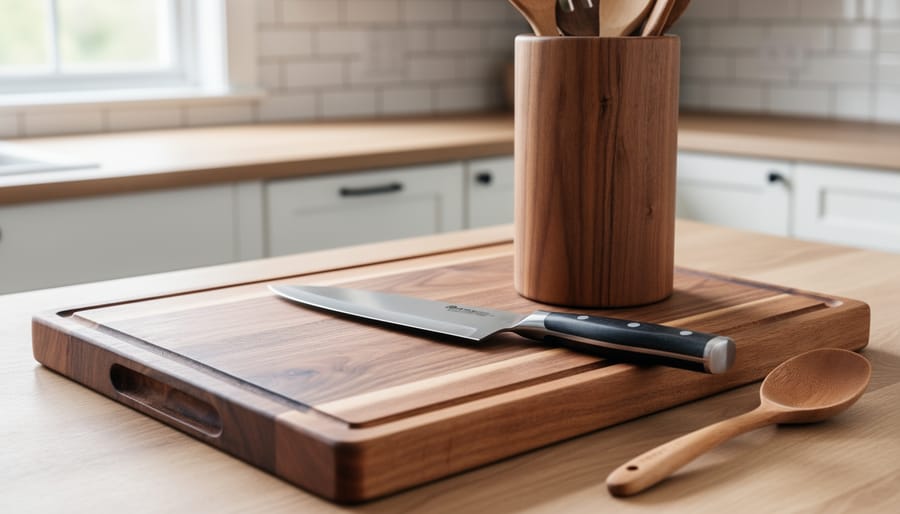
You can transform your kitchen into a showcase of handcrafted function by building simple woodworking projects that combine beauty with everyday utility. A basic cutting board, for instance, takes just a few hours and requires minimal tools, yet the skills you’ll develop open the door to an entire world of kitchen creations, from spice racks to knife blocks to elegant utensil holders.
The kitchen is where most woodworkers find their confidence. There’s something deeply satisfying about reaching for a wooden spoon you shaped yourself or slicing vegetables on a board you cut, sanded, and finished with your own hands. These aren’t just decorative pieces gathering dust on a shelf. They’re functional companions to your daily routine, constant reminders that you’re building real skills with every project.
What makes kitchen woodworking particularly rewarding for beginners is the immediate feedback loop. You create something on Saturday, and by Sunday morning you’re using it to prep breakfast. That tangible connection between effort and result keeps the momentum going. Plus, kitchen projects tend to be smaller in scale, which means less material cost, faster completion times, and lower stakes if something goes wrong.
This guide walks you through everything you need to start building for your kitchen, beginning with a straightforward cutting board project that teaches fundamental techniques you’ll use again and again. We’ll cover the essential tools, important safety practices, and a range of project ideas organized by skill level. Whether you’re picking up your first saw or looking to expand beyond basic boxes, you’ll find clear direction and the encouragement to keep growing as a craftsperson.
Why the Kitchen Is the Perfect Place to Start Your Woodworking Journey
The kitchen offers something special that few other spaces can match: every piece you create will be seen, touched, and appreciated multiple times each day. Unlike decorative projects that sit on a shelf gathering dust, kitchen woodworking puts your craftsmanship front and center where it genuinely improves daily life. That cutting board you make this weekend becomes part of Sunday morning pancakes and weeknight dinner prep, reminding you of your growing skills with each use.
Kitchen projects create a natural progression that matches your developing abilities. Start with a simple serving board that teaches you to select wood, make clean cuts, and apply food-safe finishes. Once you’ve mastered those fundamentals, move on to a utensil holder that introduces basic joinery. Before long, you’re tackling floating shelves or spice racks that demand precise measurements and thoughtful design. The kitchen becomes your training ground, each project building confidence for the next.
Take Sarah, who joined our woodworking community two years ago with zero experience. Her first cutting board took an entire weekend and turned out slightly lopsided. Six months later, she crafted matching walnut trivets for her dinner parties. Today, she’s designing and building a complete kitchen island that her family gathers around nightly. Or consider James, who started with wooden spoons as gifts, discovered his love for hand-carving, and now sells custom utensil sets at local markets. These transformations happen because kitchen projects deliver immediate satisfaction and visible progress that keeps you coming back to the workshop.
Essential Tools and Materials for Kitchen Woodworking
Choosing Food-Safe Woods and Finishes
When you’re building items that’ll touch food or live in your kitchen, wood selection matters more than looks alone. The good news? Several beautiful hardwoods work perfectly for kitchen projects while keeping your family safe.
Maple stands as the workhorse of kitchen woodworking. Its tight grain resists bacteria naturally and holds up to daily cutting and chopping. Hard maple especially shines for cutting boards and butcher blocks. Walnut brings rich, dark tones and excellent durability, though it’s slightly softer than maple. Cherry offers warm reddish hues that deepen with age, making it gorgeous for serving pieces. Bamboo grows quickly and resists moisture well, earning its place as a sustainable choice for cutting boards and utensil holders.
Why these woods? Dense, closed-grain hardwoods don’t let moisture penetrate easily, which means bacteria can’t hide in deep pores. Softer woods like pine work fine for decorative spice racks or wall shelves, but skip them for cutting surfaces or anything touching raw meat. The USDA addresses cutting boards food safety by recommending nonporous surfaces that clean thoroughly.
For finishes, mineral oil is your best friend. It’s food-safe, affordable, and easy to reapply every few weeks. Beeswax mixed with mineral oil creates a protective coating that feels smooth and repels water better. Some woodworkers prefer polyurethane labeled as FDA-approved or meeting food contact substance regulation standards, which creates a harder, longer-lasting finish once fully cured.
Never use regular varnish, stain, or lacquer on items contacting food. Save those for your decorative kitchen shelf that holds cookbooks, not the cutting board slicing tonight’s vegetables.
Safety First: Protecting Yourself in the Workshop
Your workshop is where creativity meets craft, but it’s also where respect for tools and materials keeps you safe. The habits you build now will protect you through thousands of hours at the bench.
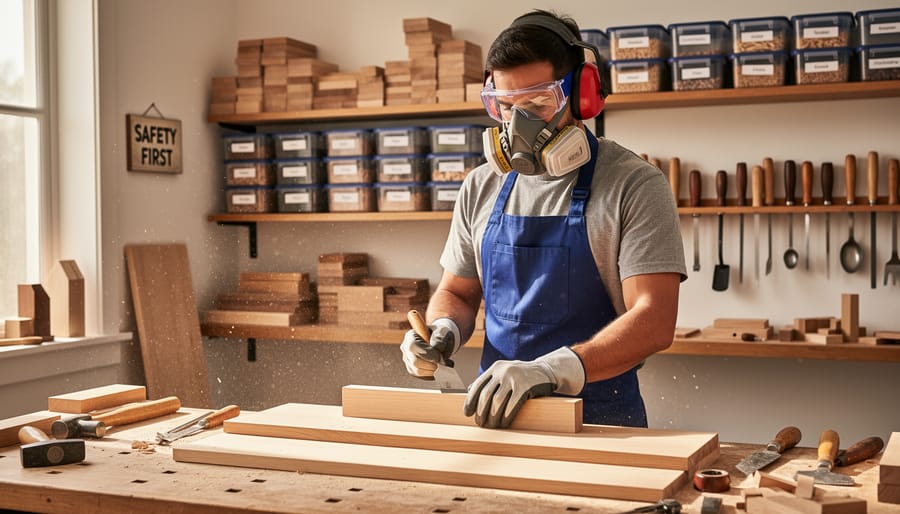
Start every session by putting on safety glasses, even for quick tasks. Wood chips fly when you least expect them, and a single splinter in the eye can end your day or worse. When running power tools like routers or planers, add hearing protection. Prolonged exposure to high-decibel noise causes permanent damage you won’t notice until it’s too late.
Dust management matters more than many beginners realize. Fine wood dust irritates lungs and settles everywhere. A shop vacuum attached to your sander or a simple dust mask for hand-sanding protects your respiratory system. When applying mineral oil or finishes, open windows or work outside. Many finishes release fumes that shouldn’t be trapped in enclosed spaces.
Keep your workspace organized. Clear off-cuts and tools that aren’t in use. A cluttered bench leads to reaching across spinning blades or tripping over scraps. Store sharp chisels and saw blades properly so you’re not fishing through drawers.
Learn each tool before you power it up. Read manuals, watch demonstrations, practice with scrap wood. Understand where your hands should be and where they absolutely shouldn’t. Safe tool operation becomes muscle memory, letting you focus on creating rather than worrying. These practices transform from conscious effort into automatic habits that sustain your woodworking journey for decades.
Step-by-Step: Building Your First Kitchen Woodworking Project
Planning Your Design and Gathering Materials
Before you pick up a saw, invest fifteen minutes in planning, it’s the difference between a cutting board you’re proud to give as a gift and one that teaches you what not to do next time. Grab paper and pencil (or start a woodworking journal if you haven’t already) and sketch your board’s basic shape and dimensions. A beginner-friendly size is 12 inches by 18 inches and about 1 inch thick after finishing, manageable without being too small to use.
Next, choose two or three wood species that contrast beautifully: maple’s pale cream next to walnut’s rich chocolate creates classic appeal, while cherry and maple offer warm, subtle variation. Visit your lumber supplier and select straight-grained boards without cracks or excessive knots. Calculate how many strips you’ll need by dividing your board width by your planned strip width (try 1.5-inch strips to start).
Finally, clear your workspace. Sweep away old sawdust, organize your clamps where you can reach them easily, and double-check you have sandpaper in multiple grits, wood glue, and mineral oil on hand. This preparation means you’ll cut with confidence rather than scrambling mid-project.
Cutting, Gluing, and Assembling
Start by double-checking your measurements before making any cuts. Measure twice, cut once isn’t just a saying, it saves wood and frustration. Use a miter saw or table saw for straight, clean cuts, keeping your hands safely away from the blade. Cut all your pieces slightly oversized if you’re nervous, then trim to final dimensions once you gain confidence with your saw.
Before gluing, arrange your wood strips on your workbench to find the most attractive grain pattern. Look for interesting contrasts between light and dark woods, and alternate the direction of the growth rings visible on the end grain. This arrangement prevents your board from cupping over time as the wood moves with humidity changes.
When you’re happy with the layout, mark the top surface and number each piece so you can reassemble them in order. Apply a thin, even layer of food-safe wood glue to one edge of each joint. You don’t need excessive glue, just enough to coat the surface without drips.
Place your pieces together and secure them with pipe clamps or bar clamps. Tighten gradually, alternating between clamps to distribute pressure evenly. You’ll see small beads of glue squeeze out along the joints, which means you’ve used the right amount. Wipe away excess glue with a damp cloth before it dries.
Let your glued-up board sit undisturbed for at least 24 hours in a temperature-controlled space. Rushing this step compromises strength and can cause joints to fail later.
Smoothing and Shaping
After your glue has fully cured (wait at least 24 hours), you’ll notice the board isn’t perfectly flat, squeeze-out and slight misalignments create ridges where pieces meet. Start by scraping off dried glue with a cabinet scraper or chisel, working carefully to avoid gouging the wood.
If you own a hand plane, this is where it shines. Set it for a light cut and work diagonally across the grain first, then with it, taking thin shavings until the surface feels uniform under your palm. No plane? A belt sander with 80-grit paper works quickly, but keep it moving to avoid creating dips.
Progress through sandpaper grits methodically: 120 to remove planer marks, 180 to smooth the surface, and 220 for your final pass. Sand with the grain during these later stages, cross-grain scratches will show through your finish. Pay special attention to edges and corners; a slightly rounded profile (called “breaking the edge”) prevents splintering and feels better in hand.
Run your fingers across every surface. You’ll feel imperfections your eyes might miss. When the wood feels silky smooth and consistent, you’re ready to apply finish. This patience pays off, proper surface preparation makes the difference between a project that looks homemade and one that looks crafted.
Applying Food-Safe Finishes
Start with a completely dry, well-sanded surface, any moisture or dust will ruin your finish. Pour mineral oil generously onto the wood and spread it with a clean cloth, working with the grain. Let it soak in for 20 minutes, then wipe off any excess that hasn’t absorbed. You’ll need at least three coats, waiting four to six hours between applications, until the wood stops looking thirsty.
Once the final oil coat dries overnight, warm a beeswax and mineral oil blend between your hands and rub it across the entire surface in circular motions. Buff with a soft cloth until you see a subtle sheen. Your cutting board will darken slightly and feel silky smooth, exactly what you want.
Re-oil your finished piece monthly for the first three months, then every few months depending on use. When water stops beading on the surface, it’s time for another coat.
More Kitchen Projects to Build Your Skills
Beginner-Friendly Projects
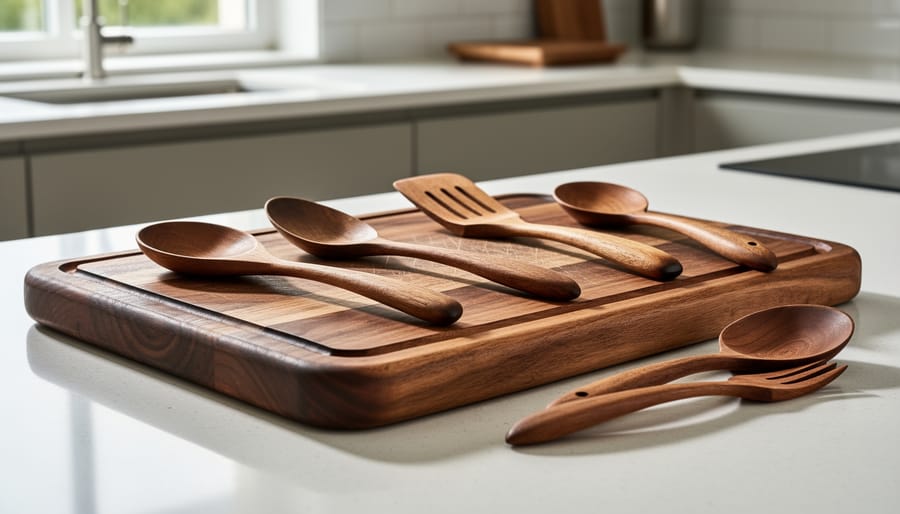
Once you’ve mastered your cutting board, these beginner projects will cement your foundational skills while filling your kitchen with handmade treasures. A serving tray teaches you to work with larger boards and create handles, just cut a rectangular base, add side pieces with finger holes, and finish beautifully. Wooden spoons and spatulas are perfect small DIY projects that develop your shaping and carving skills using just a few hand tools and scraps of hardwood.
Trivets protect your countertops while letting you practice precise spacing and simple joinery, arrange thin wood strips in a grid pattern, glue them together, and sand smooth. A basic knife block requires drilling angled holes at consistent spacing, teaching you drill control and alignment. Each project takes a few hours, uses minimal materials, and produces something you’ll reach for daily, building your confidence one piece at a time.
Intermediate Challenges
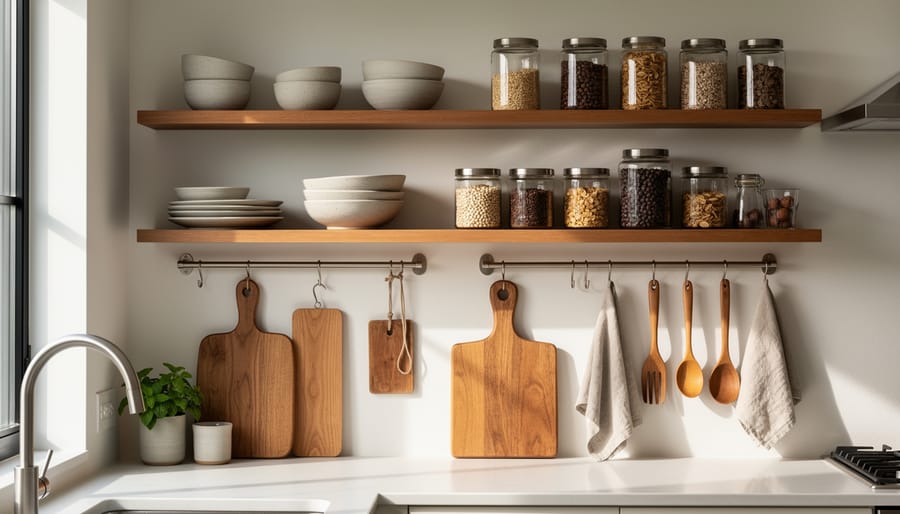
Once you’re comfortable with basic projects, intermediate kitchen pieces offer exciting new challenges without overwhelming complexity. Floating shelves teach you to work with hidden brackets and achieve perfectly level installations, skills that transform simple boards into elegant storage solutions. Building a spice rack introduces dadoes and rabbets, joinery techniques that create strong, professional-looking connections without visible fasteners.
Utensil holders let you experiment with compartment design and angle cuts, while bread boxes combine hinges, precise lid fitting, and ventilation considerations. These projects demand more accurate measurements and teach you to think three-dimensionally as pieces must fit together precisely. You’ll develop patience for test-fitting and adjusting, hallmarks of true craftsmanship.
The beauty of intermediate work is watching your problem-solving skills grow. When a joint doesn’t align perfectly, you’ll learn to adjust rather than start over, building the confidence that separates hobbyists from developing artisans.
Advanced Builds for Growing Artisans
Once you’ve mastered basic joinery and finishing, you’re ready for projects that transform your entire kitchen. A kitchen island demands precise measurements, sturdy construction techniques, and thoughtful design, you’ll combine frame building, countertop installation, and possibly plumbing or electrical considerations. Custom pot racks teach you to work with ceiling joists, calculate weight loads, and create suspended structures that are both functional and beautiful.
Pull-out pantry organizers challenge you to build drawer slides, create precise compartments, and retrofit existing cabinets with smooth-operating storage solutions. Refinishing cabinets combines surface preparation, proper priming techniques, and finish application across large surfaces while maintaining consistency.
These substantial builds take weeks rather than days, but they showcase genuine craftsmanship. You’ll solve real design problems, work with professional-grade materials, and create pieces that significantly increase your home’s value while proving you’ve grown from beginner to accomplished artisan.
Testing Your Work and Knowing When You’re Done
Knowing when your project is truly finished comes from methodical checking, not endless tinkering. Start with a tactile inspection, run your hands slowly across every surface, edge, and corner. Your fingertips will catch splinters or rough patches your eyes might miss. Any spot that snags deserves attention, especially on items that’ll touch food or hands frequently.
Test the structural integrity next. Gently stress-test joints by applying modest pressure at connection points. A cutting board should feel solid without flexing; a shelf bracket shouldn’t wobble when you press it. If something feels questionable, reinforce it now rather than discovering the weakness when it’s holding your favorite dishes.
Confirm your finish is fully cured before declaring victory. Food-safe oils typically need 24 hours between coats and a final 48-hour cure time, though manufacturer instructions vary. The surface should feel dry, not tacky, and shouldn’t smell strongly of finish anymore.
Here’s the tricky part: recognizing when you’re done versus when you’re chasing perfection that doesn’t exist. Minor variations in wood grain or slight color differences aren’t flaws, they’re character. If your project is safe, stable, and functional, those tiny imperfections you’re obsessing over? Nobody else will notice them.
Set a completion standard before you start: smooth surfaces, tight joints, proper finish. When you’ve met those criteria, step back. That cutting board doesn’t need another round of sanding.
Common Questions from Kitchen Woodworkers
Which woods are actually safe for cutting boards and food contact?
Hardwoods like maple, walnut, cherry, and teak are excellent choices because they’re dense, durable, and naturally antimicrobial. Avoid softwoods like pine and cedar, as well as woods with open grain that can harbor bacteria, and always research any exotic species before using them for food-contact projects.
How often should I reapply oil to my cutting board?
Apply mineral oil monthly for the first year, then every few months once the wood is well-seasoned. If water stops beading on the surface or the wood looks dry, it’s time for another coat, think of it like moisturizing skin that gets daily use.
I made a mistake cutting my wood too short, should I start over?
Not necessarily. Many experienced woodworkers have a scrap bin full of “happy accidents” that became part of creative solutions. Adjust your design to fit the piece you have, add a contrasting wood border, or use it as a chance to practice joinery techniques, mistakes often teach more than perfect cuts.
How long does a typical beginner kitchen project take?
A simple cutting board usually takes 3-5 hours spread across a few days to allow for glue drying and finish curing. More complex projects like spice racks might need 8-12 hours, but remember that rushing ruins more projects than lack of skill does, enjoy the process.
When should I upgrade from basic tools to professional-grade equipment?
Upgrade when a tool limits what you can accomplish or when the project you’re excited about requires better precision. Many woodworkers start with budget-friendly options and gradually invest in quality tools as specific needs become clear, there’s no shame in building skills with modest equipment first.
Can I really learn woodworking without formal training?
Absolutely. Thousands of skilled artisans started by watching tutorials, reading articles, and simply building things. Modern resources like Workshop XR and online communities make quality instruction accessible to anyone willing to practice, and your kitchen projects will improve steadily as you gain hands-on experience.
These questions come up in every woodworking community because they’re universal concerns. The truth is, you’re not alone in wondering about these things, experienced woodworkers asked the same questions when they started. What matters most isn’t having all the answers upfront but being willing to learn, adapt, and share your experiences with others on the same journey. Your questions are signs of thoughtful practice, not weakness.
You’ve got everything you need to start your first kitchen woodworking project right now. Remember, every master craftsperson you admire began exactly where you’re standing today, with that mix of excitement and uncertainty, holding their first piece of wood and wondering if they could really do this. They could, and you can too.
There’s something profoundly satisfying about creating functional pieces with your own hands, pieces that will serve your family for years and maybe even become heirlooms. Each project you complete teaches you new skills, builds your confidence, and connects you to a centuries-old tradition of craftsmanship. You’re not just making kitchen items; you’re choosing sustainable craftsmanship over disposable goods and discovering the pride that comes from saying “I built that myself.”
You’re joining a vibrant community of woodworkers who support each other through shared knowledge, encouragement, and celebration of every finished piece. From online forums to artisan co-ops you’ll find fellow craftspeople eager to help you grow. So gather your materials, set up your workspace, and make that first cut. Your kitchen is waiting for the transformation only you can create.